Input Actuals
As the workday progresses, within Progress you can input the hours each crew member worked on a task, and the amount of quantity installed or completed. Inputting actuals for the Daily Plan takes place in the Timesheet and Quantities tabs.
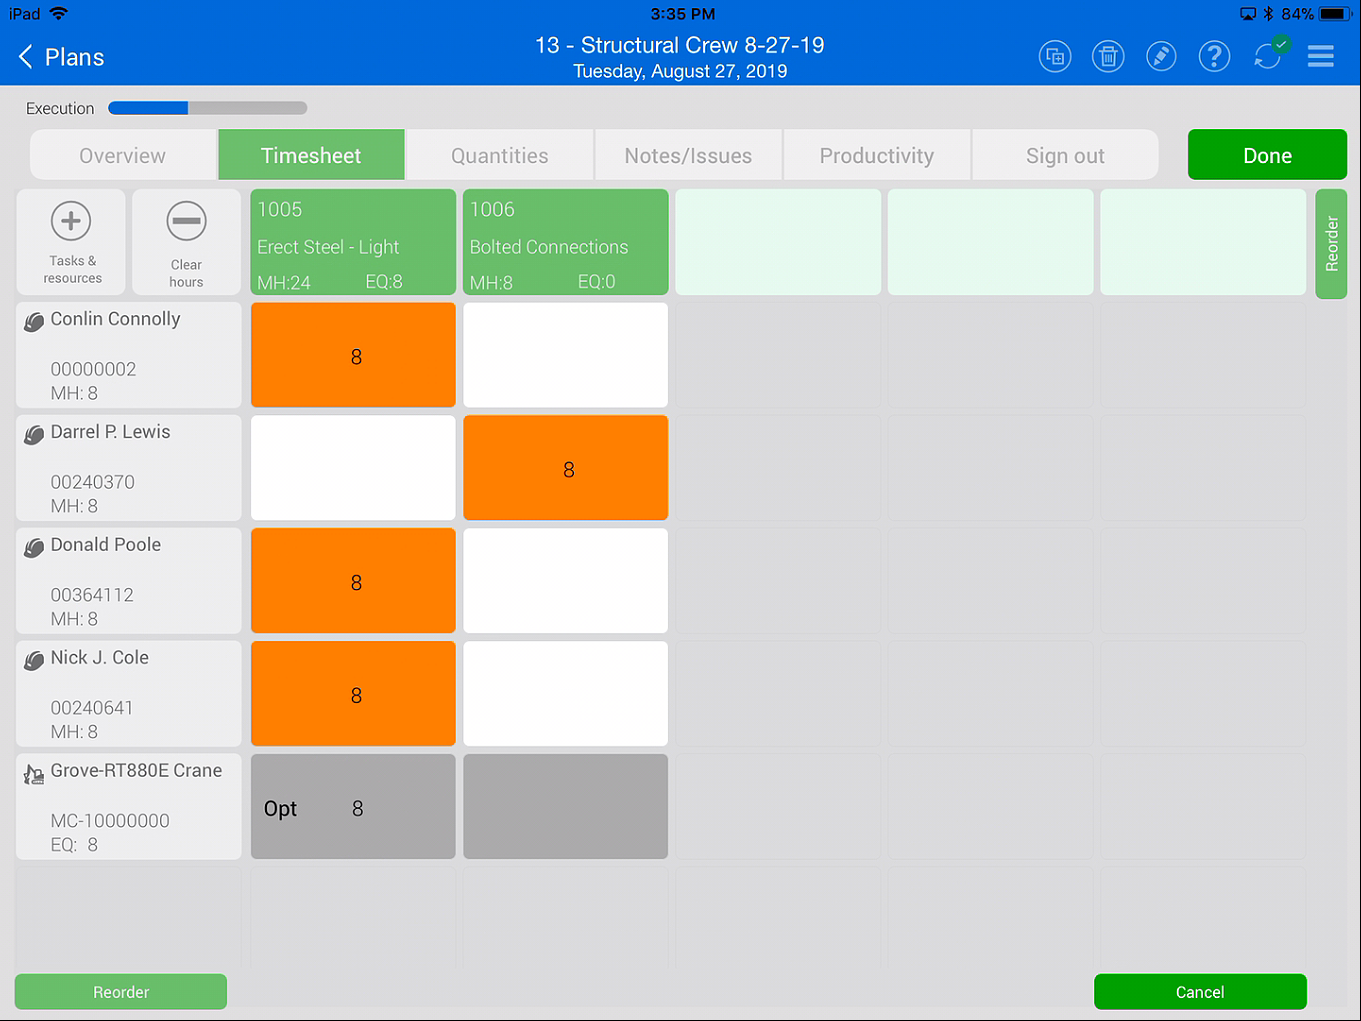
Timesheet Tab
Within the Timesheet tab, you can enter the exact hours each crewmember worked and the amount of hours the equipment was used.
You may need to track that a crewmember has shown up late or missed a day of work. You can also add notes to an employee if there was an injury, tardiness, or extra work hours.
If you have crewmembers that must work overtime or double time to meet the schedule deadline, on the Timesheet tab you can enter straight time, overtime, and double time. In addition, to account for fractions of an hour, there are buttons below the keypad (e.g., by 0.25, 0.50, or 0.75). If you enter overtime or double time, you will see the updated hours in the hour box.
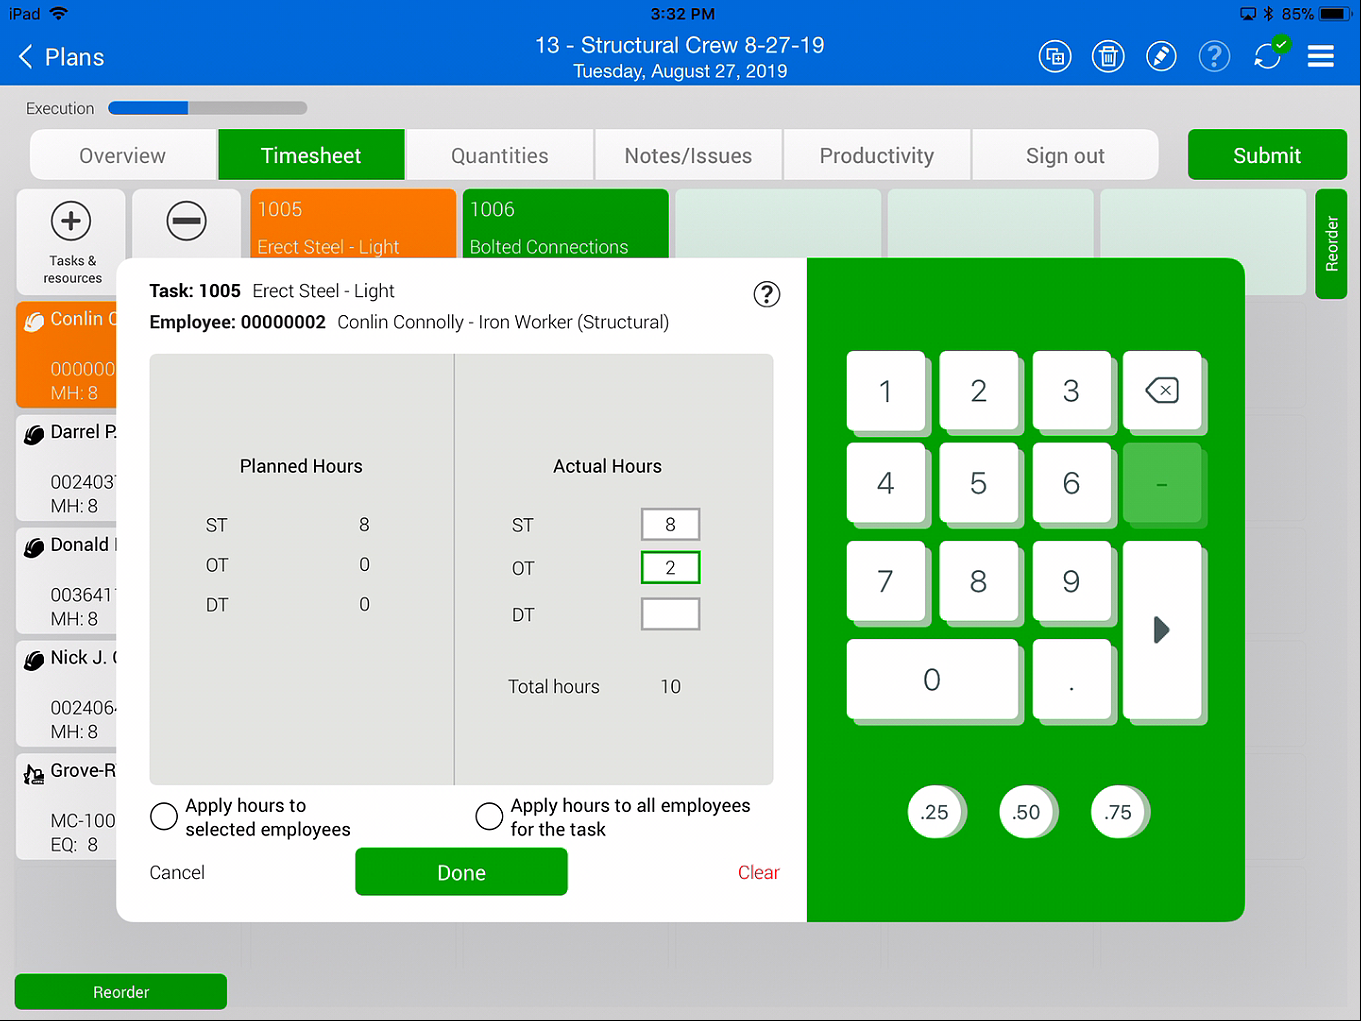
If everyone in your crew has worked the same hours, you can select the Apply hours to all employees for the task box. If you want to apply the same hours to some of the employees on the daily plan, you can select Apply hours to selected employees and select the hours boxes for all the employees you wish to allocate the hours to.
If you are adding hours to a vendor resource, there is an additional Number of employees field.
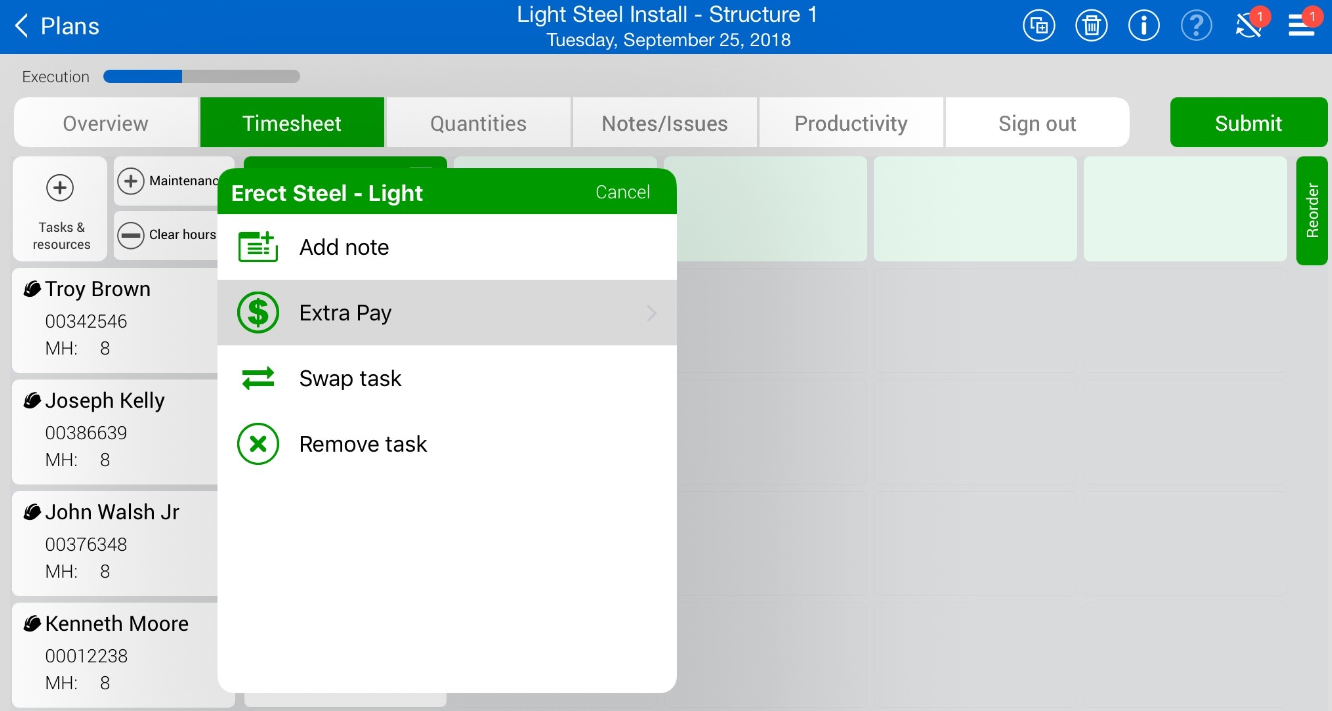
If your plan for the day has changed and you need to replace the task for the day, you can do so by tapping on the task box and selecting Swap task. This allows you to leave any hours you have already entered and not have to start from scratch.
You can also add a note or define any extra pay from this screen.
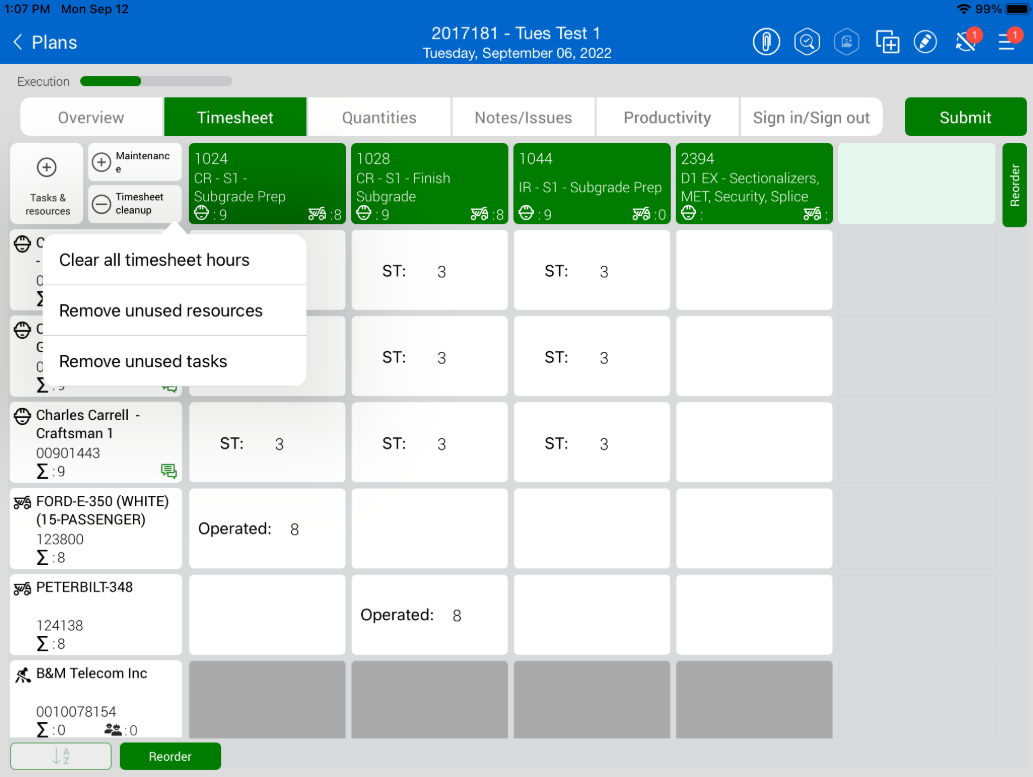
Remove unused tasks and resources
You can remove all unused tasks or resources from a daily plan at the same time. At the top of the Time Sheet tab, click the Remove unused tasks and resources icon, and then select one of the following options:
-
Remove unused resources: All employees with no daily plan data associated with them are removed from the daily plan.
-
Remove unused tasks: All tasks with no daily plan data associated with them are removed from the daily plan.
You can change the order of the employees and equipment in the Timesheet tab by selecting one of the two Reorder buttons. Each button is located at the end of the task row and resource column.
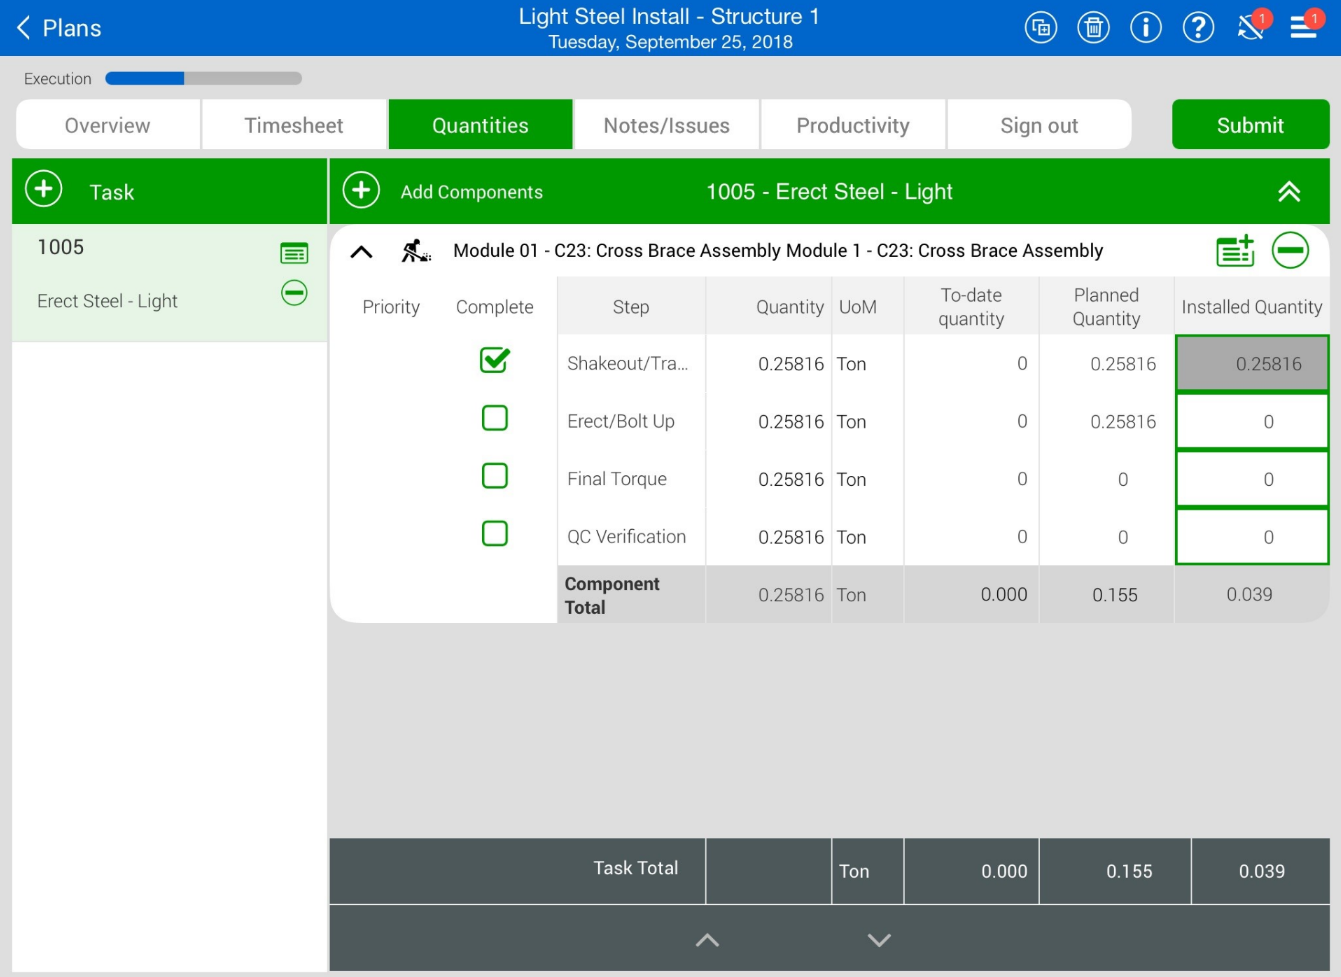
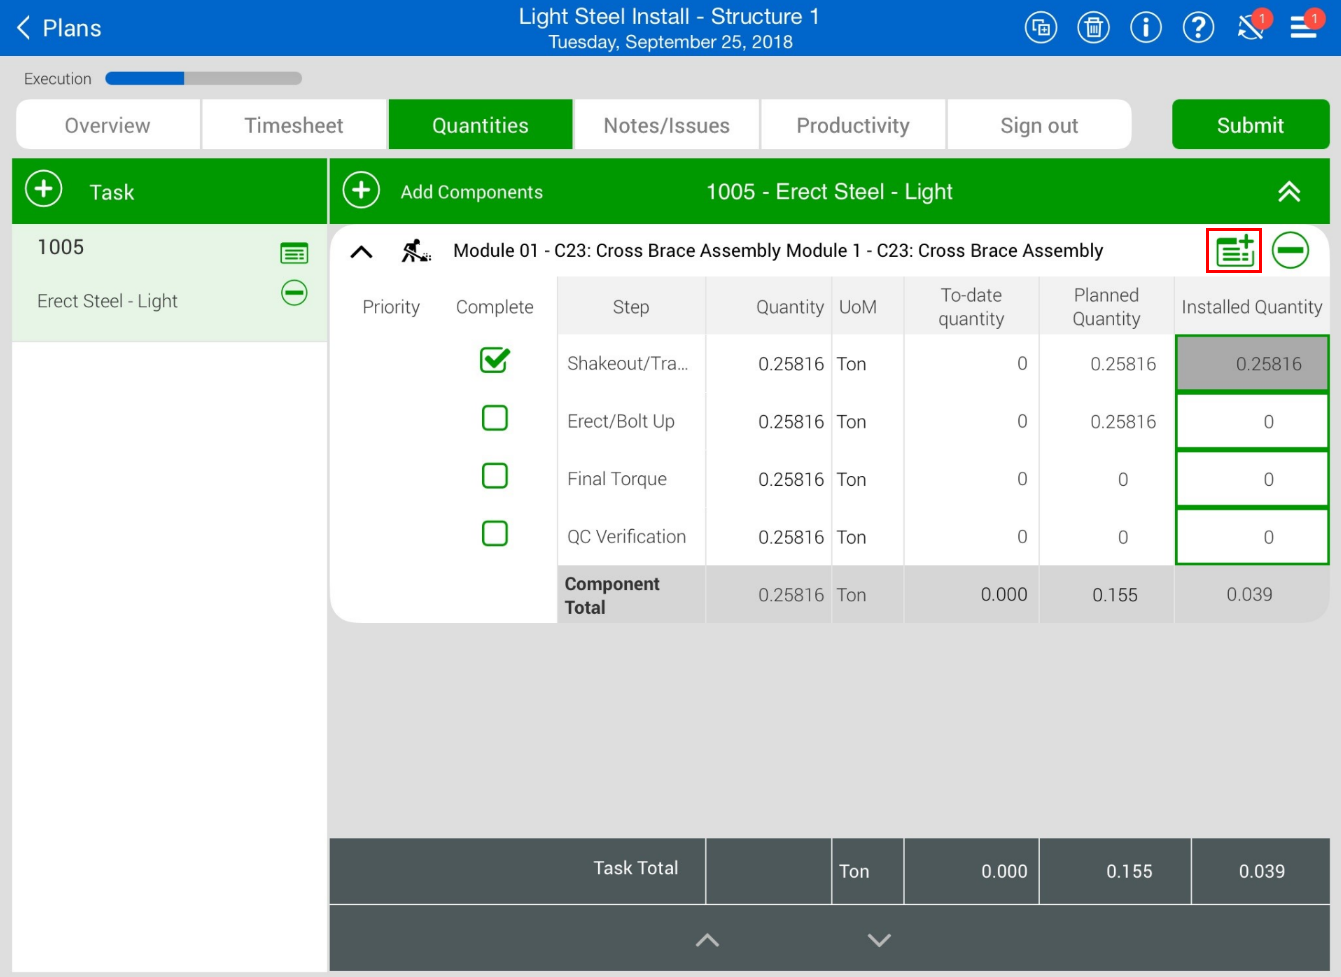
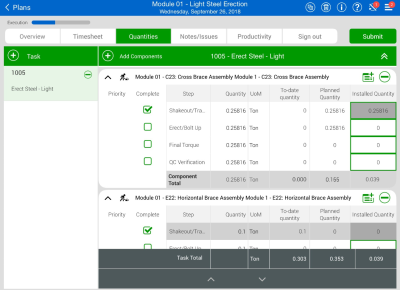
Quantities Tab
On the Quantities tab, you can check off components and claiming steps as complete, or input the exact quantities completed for the day.
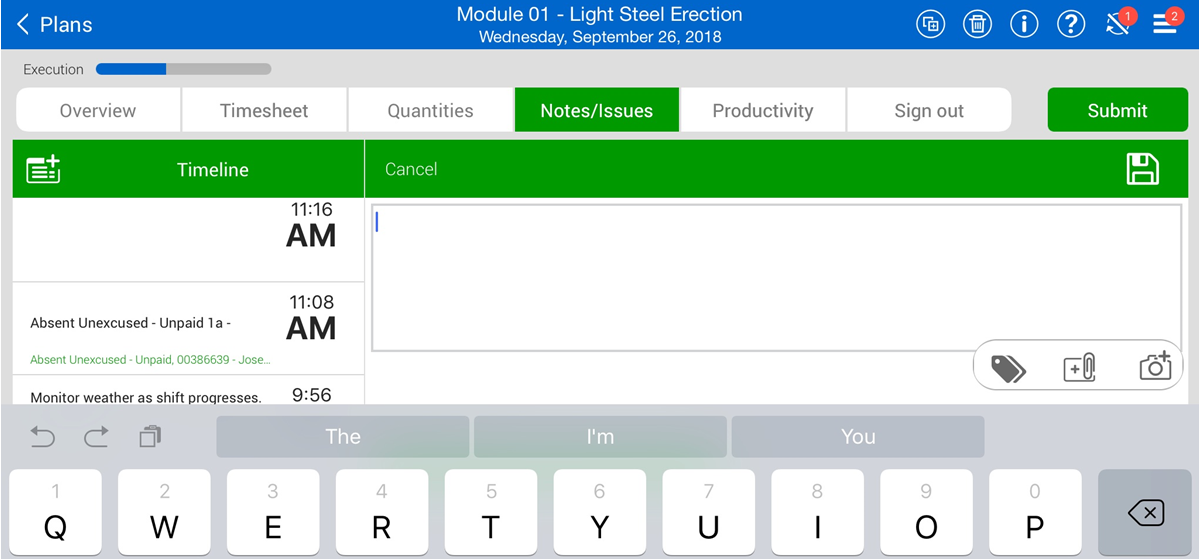
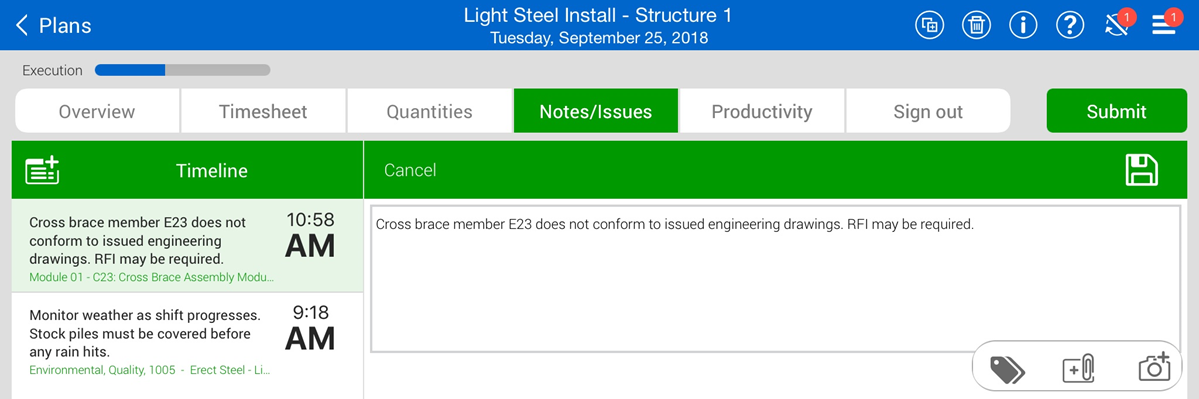
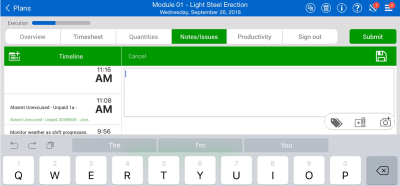
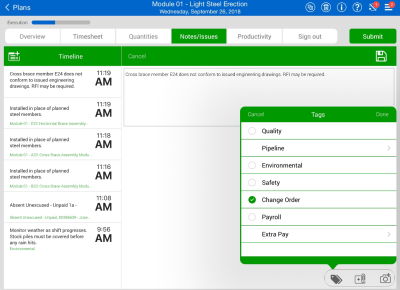
Notes/Issues Tab
After entering the quantities, you may notice you need to add a note to identify a hold point (e.g., issue, missing material, QC inspection, etc.) for the component.
To add a note for a specific component, you can tap on the Note button.
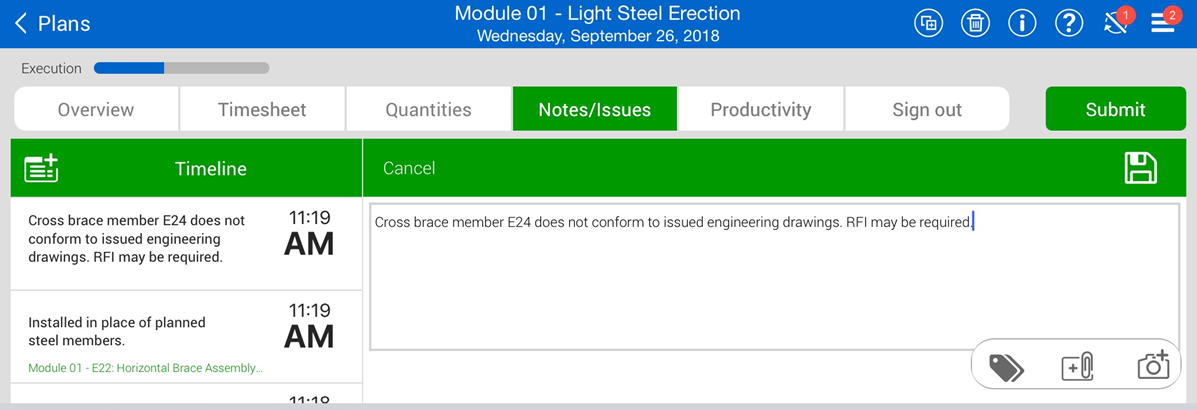
Once you open the Notes field, you can add tags to the notes and associate the notes to the categories available. You can also add photos to your notes. Examples for using notes include:
-
Additional information regarding the operation you performed for the day
-
Performance results
-
Quality issues
-
Environmental compliance
You can also add pictures, using the iPad’s camera or upload from the iPad’s Camera Roll.
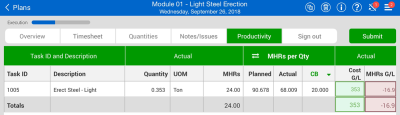
Productivity Tab
After adding notes, you can review your tasks, quantities and hours claimed for the task and compare the actuals to the planned quantity and hours within the Productivity tab.
MHR G/L and ($) G/L are two productivity metrics used to determine performance against budget. By default, MHR G/L is always shown. ($) G/L will be shown if the appropriate setting is selected in the project settings. The setting is called “Display cost in daily plan productivity during execution phase?” and is in the Daily Planning section of the project settings.
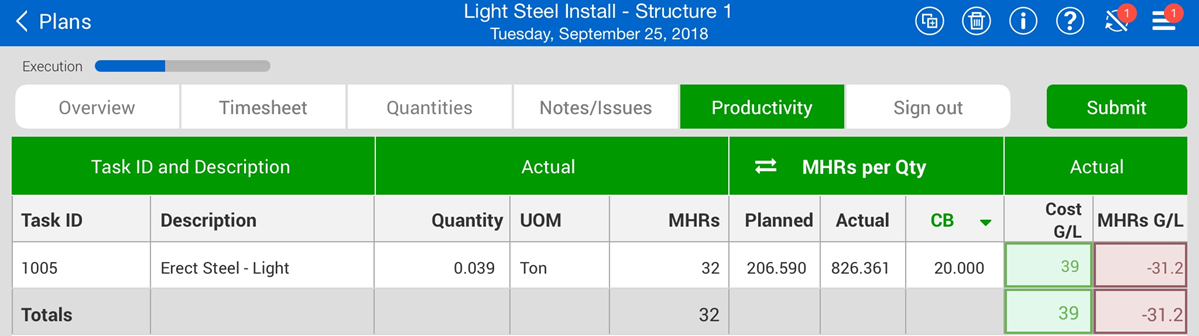
The Actual G/L compares the actual cost and man-hours recorded on your executed daily plan to the budgeted, forecasted or current estimate costs and man-hours using the following equations:
Actual Cost G/L = (Sum of (Total actual quantity for the WBS * CE/CB/Forecast final unit cost) - (Actual total cost of labor + Actual total cost of equipment)
The drop down arrow next to CB under the MHRs per QTY header allows you to select which unit cost to compare against: CE, CB or Forecast
-
Actual total cost of labor = Sum of Total number of hours worked by the employee * Hourly rate of the employee
-
Actual total cost of equipment = Sum of (Total number of equipment hours operated * Hourly Unit rate of the equipment)
Sign In/Sign Out Tab
The Sign in/Sign out tab lets you sign in or out for the day, answer any questions associated with sign-in or sign-out, and enter any breaks you take.
Sign in and Sign out are compatible with iPad and iPhone Face ID.
Sign In Subtab
The Sign In subtab lets you sign in for the day and answer questions at the beginning of your shift.
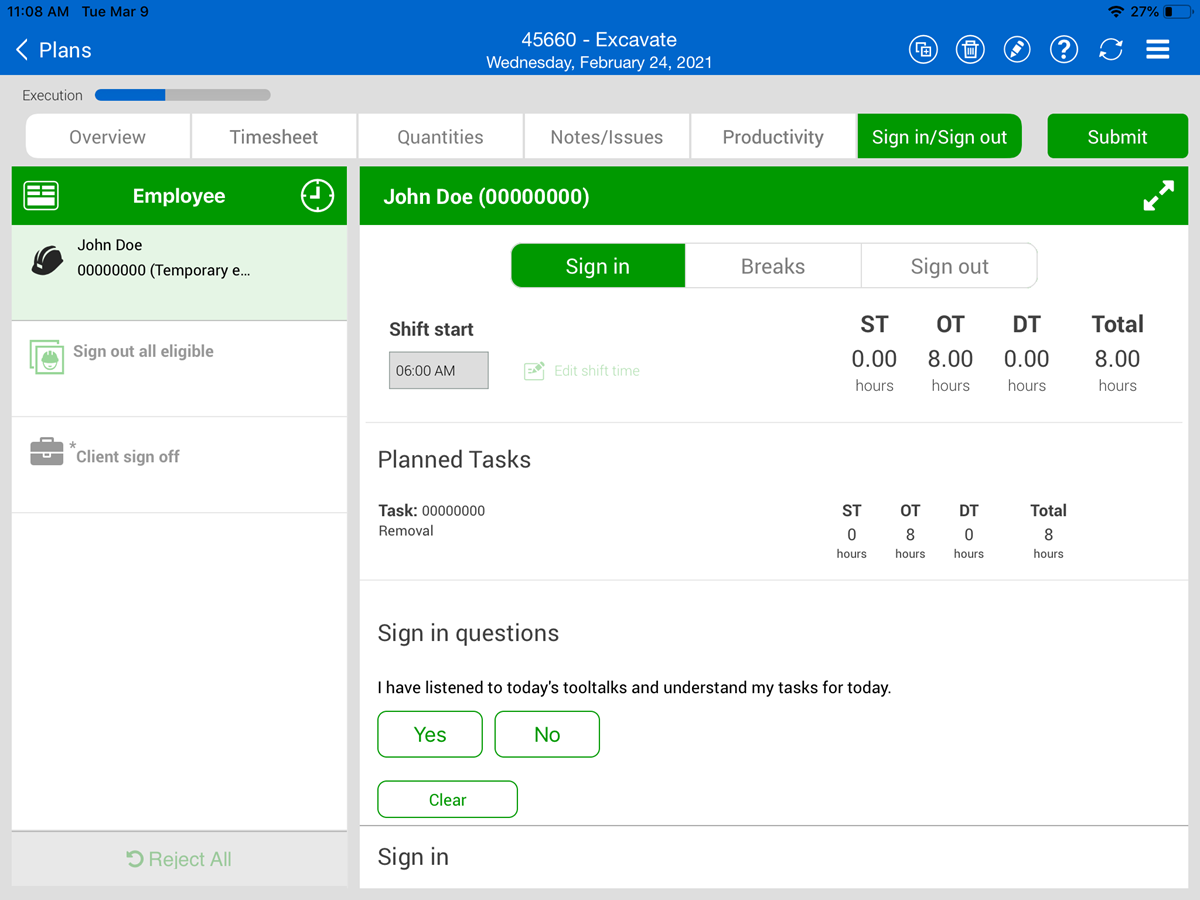
Shift Start Time
You can enter shift start time. The Shift start field is synced with the Breaks and Sign Out subtabs. Changes made to the time in one subtab change the others.
If you enter a Shift end value in the other subtabs, you cannot edit the Shift start field in the Sign In subtab.
Employee Sign-in
To sign in as an employee, tap on your name. Each employee must enter a PIN (personal information number) to sign in, which can be your birth date or a number that the IT personnel has assigned. With the proper project settings enabled, there is also an option to sign in with a signature.
Sign-in on Behalf of Employee
Depending on project settings you might also have the option to sign in on behalf of employees by using Touch ID or PIN. This project setting is recommended because crewmembers might forget to sign in when the crew iPad is not around, which prevents the daily plan from being submitted. As a field engineer, foreman, or other heavy user of the app, you can sign in for all employees at one time and use the electronic signature.
Questions
When you sign in, you or your crewmember might be asked a set of questions related to the work to be done that day. These questions are determined by management and set up for the job in the project settings by an administrator.
-
For each question, you can answer yes or no
-
If you give a non-compliant answer, a dialog box lets you put a note as to why you chose that answer
-
You can tap No Exceptions if all answers are in compliance
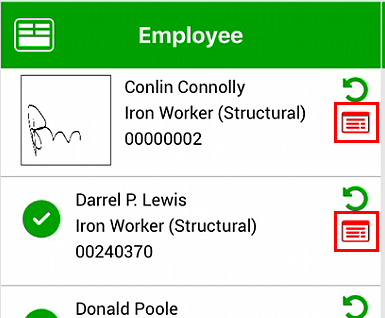
Employees who provide an answer that is out of compliance must provide a note, and a red Note indicator is shown with the employee on the sign in tab.
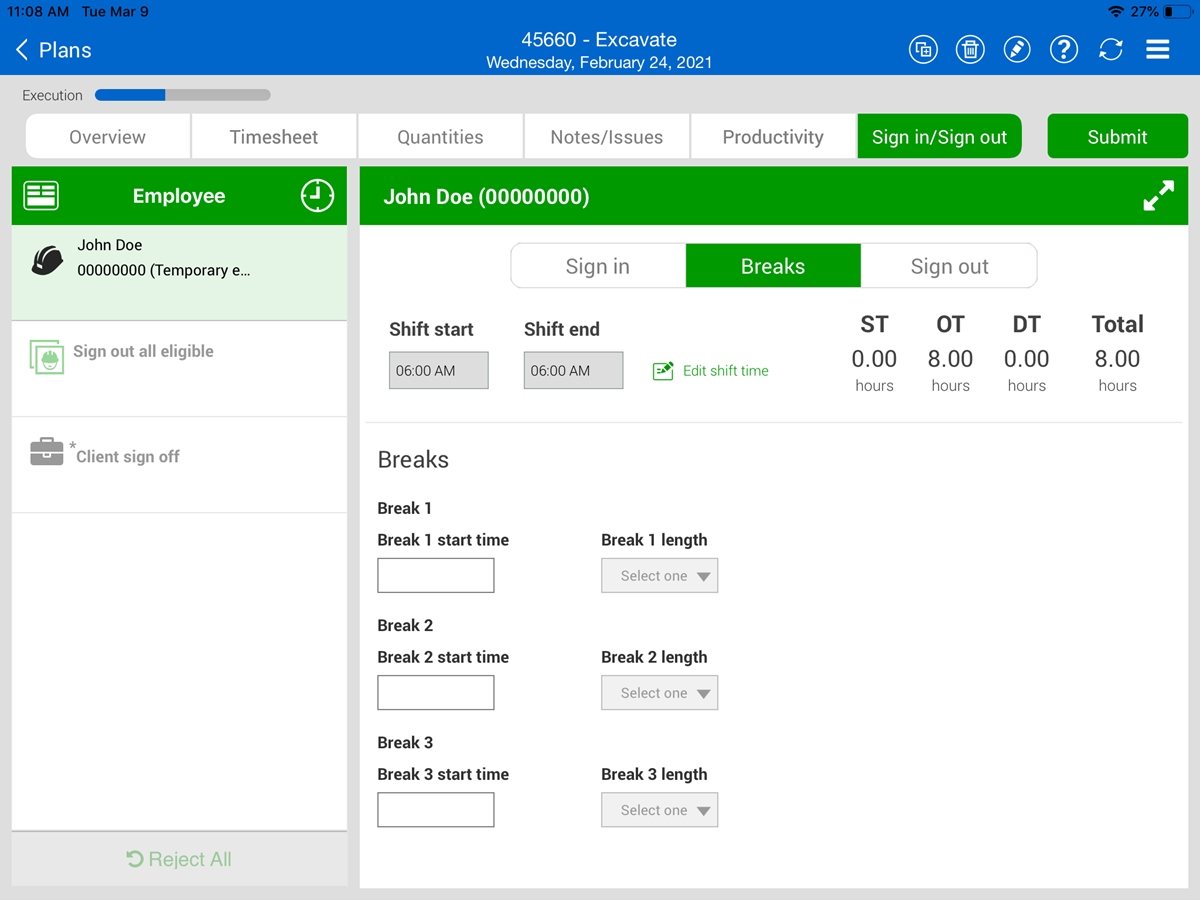
Breaks Subtab
In the Breaks subtab, you can enter up to three breaks per daily plan and per person. To enter a break, you must enter its start time and length.
Crew Break Hours
If you click the Crew hours icon at the top of the Employee side panel, the Enter crew hours dialog box opens. In Crew break details, you can enter break start times and lengths for the entire crew.
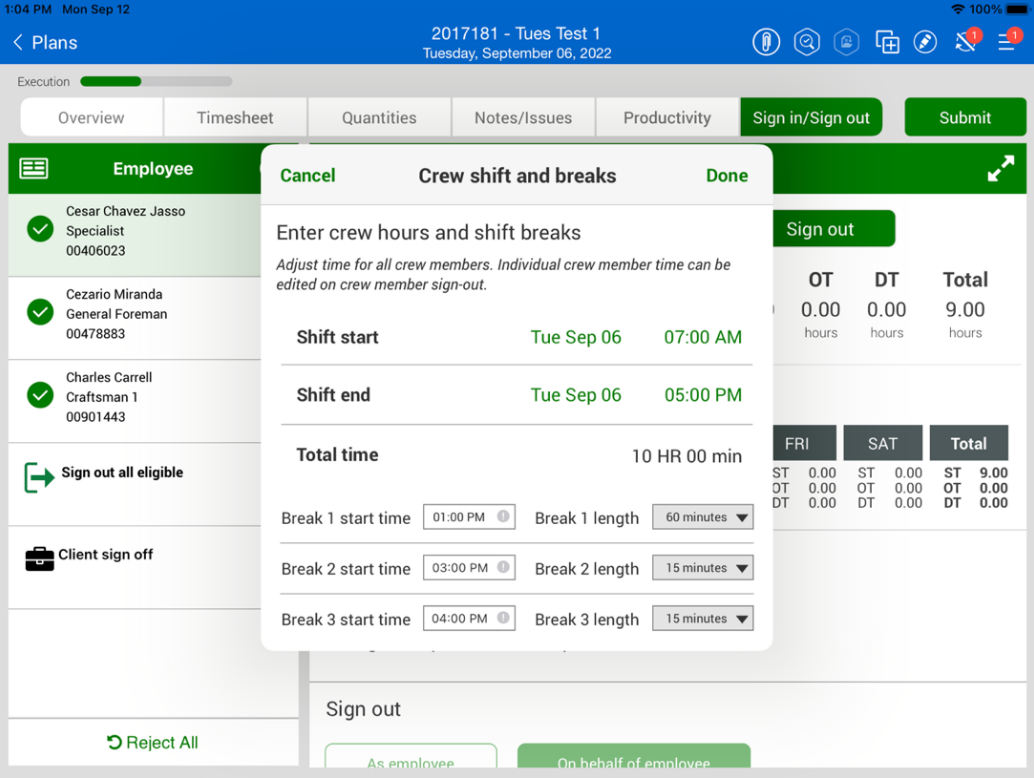
If you enter a break time for an individual employee, it overrides the crew break time for that employee.
At the top of the page, the total number of break hours is shown.

Shift Start/End Time
You can also change your shift start and shift end times on the Breaks subtab.
If you change the shift start and end times, the Sign In and Sign Out subtabs change to match the new times.
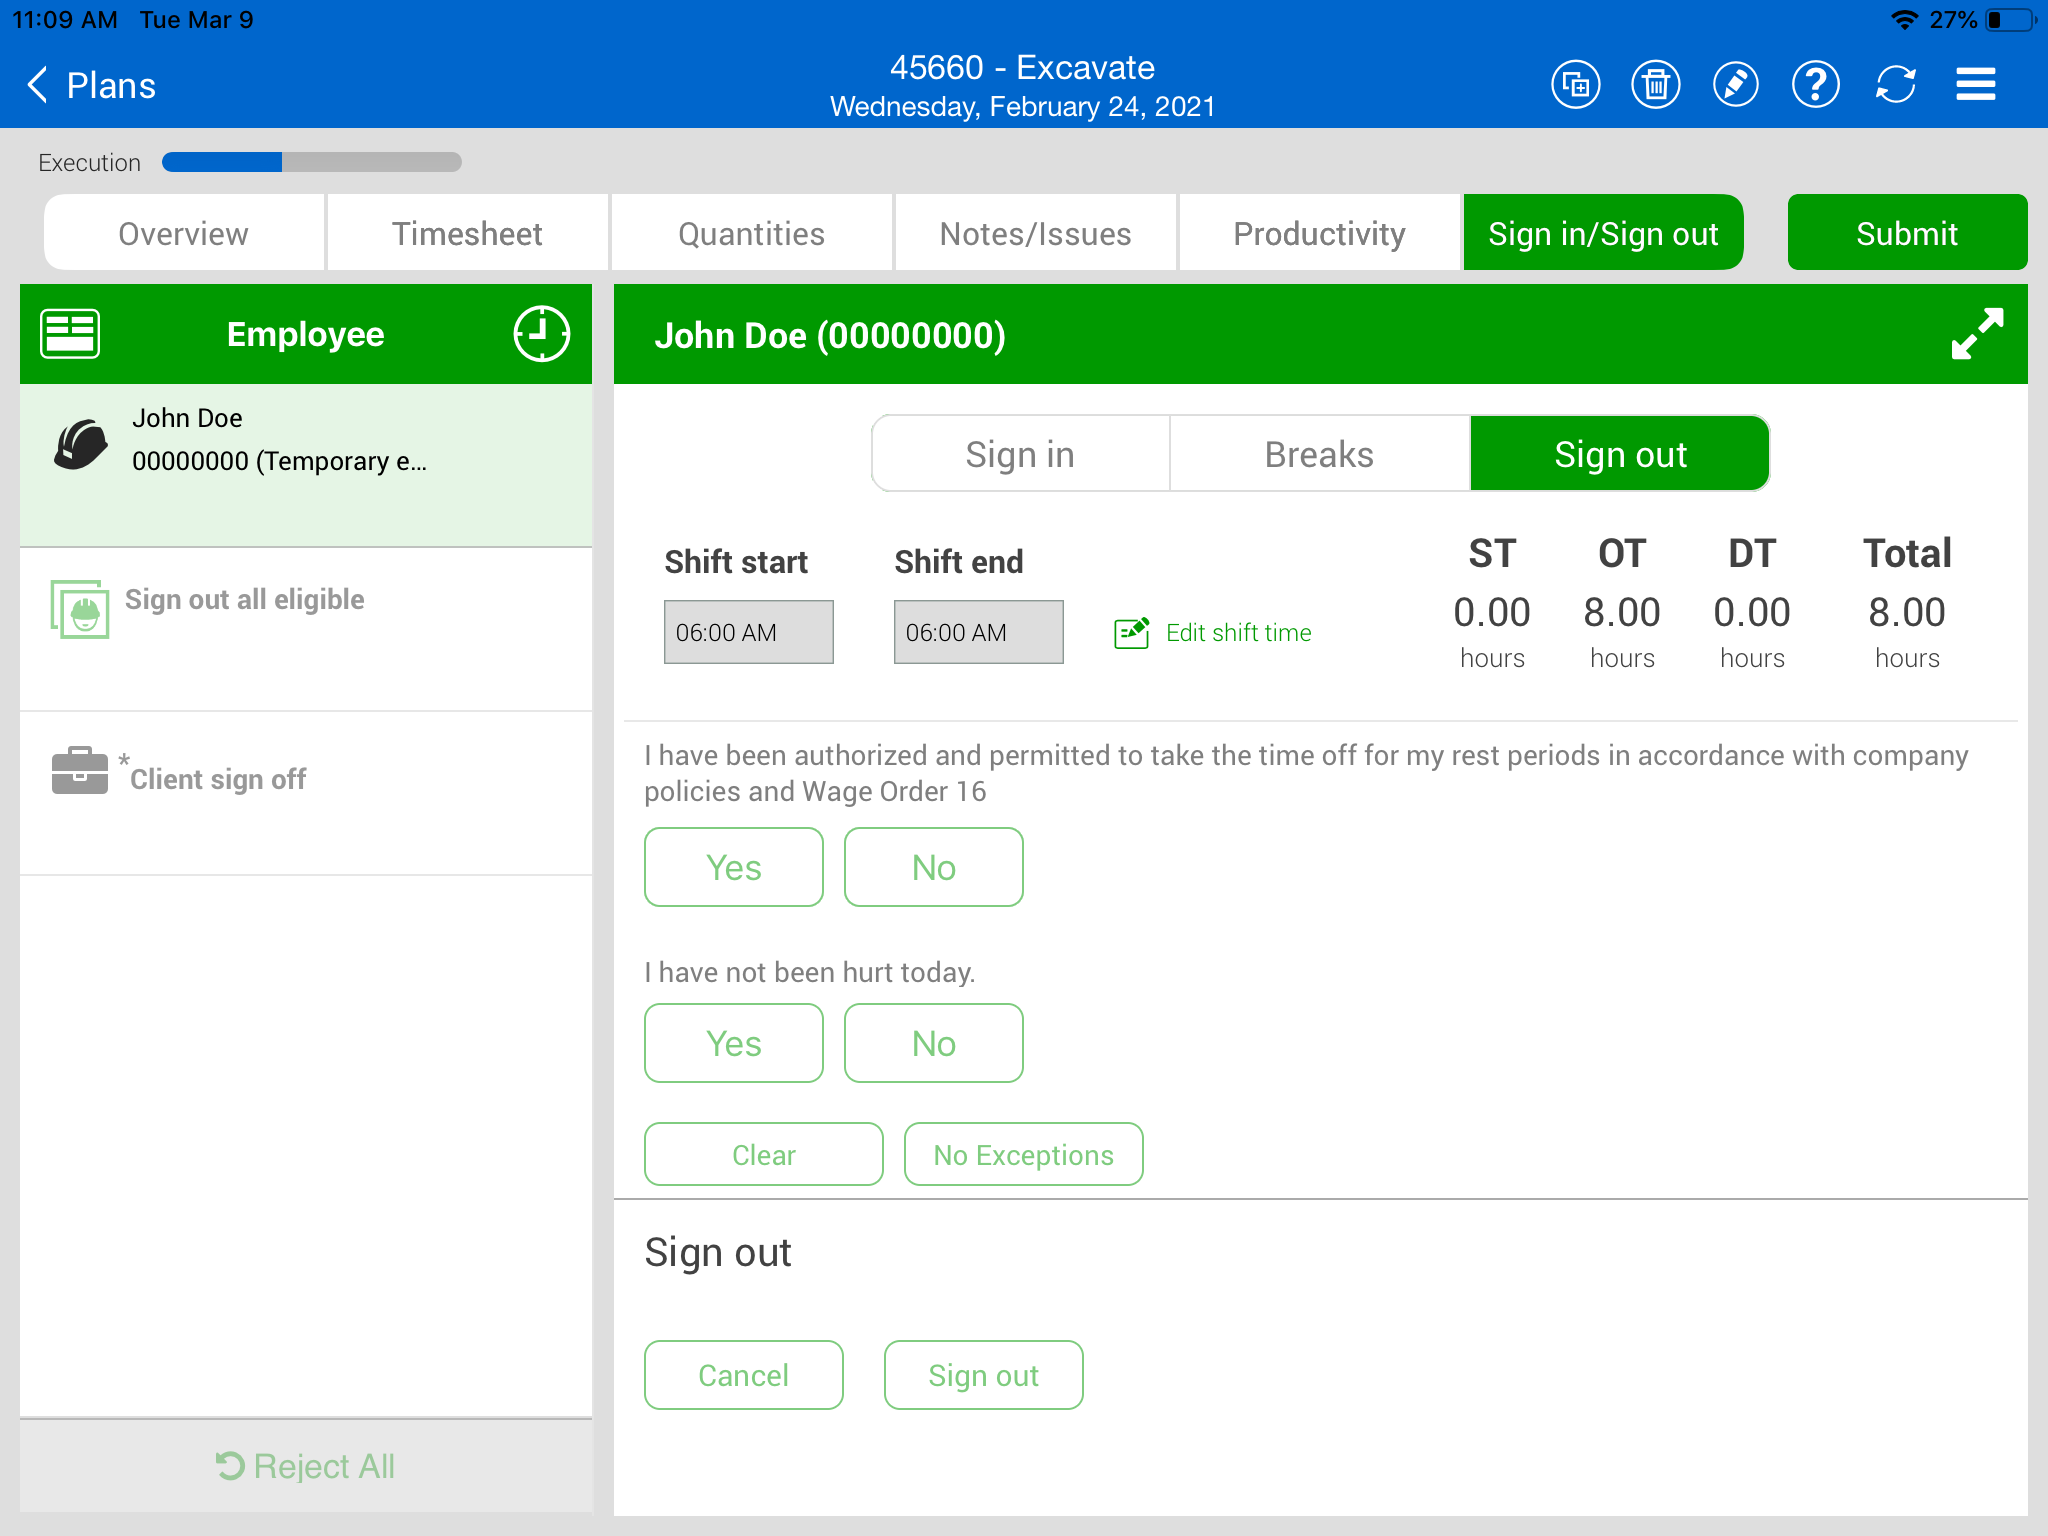
Sign Out Subtab
The Sign Out subtab lets you sign out your hours and answer questions at the end of the day. Depending on settings and permissions, you can also sign out on behalf of eligible employees.
Shift Start/End Time
You can enter shift hours for an entire crew or for an individual (exception from crew) from the Sign out subtab. To enter the hours worked for an entire crew, select the clock icon at the top of the list of crew members on the left side of the page.
To enter hours worked on an individual level, select the crew member from the list, and then select Edit shift time on the right side to adjust the hours worked for that individual.
In the dialog box, you can adjust the Shift start and Shift end values to reflect the hours worked by the crew. You can either save these changes once you have finished or cancel the operation.
Employee Sign-out
To sign out as an employee, tap on your name. You can review the hours input by the foreman before signing the card and, at that point, you can agree or disagree with the hours and negotiate them before signing out. Each employee must enter a PIN (personal information number) to sign out, which can be your birthdate or a number that the IT personnel has assigned. With the proper project settings enabled, there is also an option to sign out with a signature.
Sign-out on Behalf of Employee
Depending on project settings you might also have the option to sign out on behalf of employees by using Touch ID or PIN. This project setting is recommended because crewmembers might forget to sign out or leave early when the crew iPad is not around, which prevents the daily plan from being submitted. As a field engineer, foreman, or other heavy user of the app, you can sign out for all employees at one time and use the electronic signature on the sign-out subtab.
Client Sign-out
With the proper project settings enabled, you can include client sign-out on the Sign out subtab, either as an optional or required field, so the client can sign off for the work completed that day.
The Client sign off is available until all employees are signed out.
Questions
When you sign out, you or your crewmember might be asked a set of questions related to the work done that day. These questions are determined by management and set up for the job in the project settings by an administrator.
-
For each question, you can answer Yes or No
-
If you give a non-compliant answer, a dialog box lets you put a note as to why you chose that answer
-
You can tap No Exceptions if all answers are in compliance
Employees who provide an answer that is out of compliance must provide a note, and a red Note indicator is shown with the employee on the sign out tab.
After all employees sign out, you must submit and synchronize the plan for the information from Progress mobile to upload to Progress web.
Timesheet Summary
As a foreman, you can review the Extra pay (allowances) allocated to each employee by selecting the Timesheet summary icon. This opens a Timesheet summary page that lists each employee and which of the available allowances they have for their timesheet.
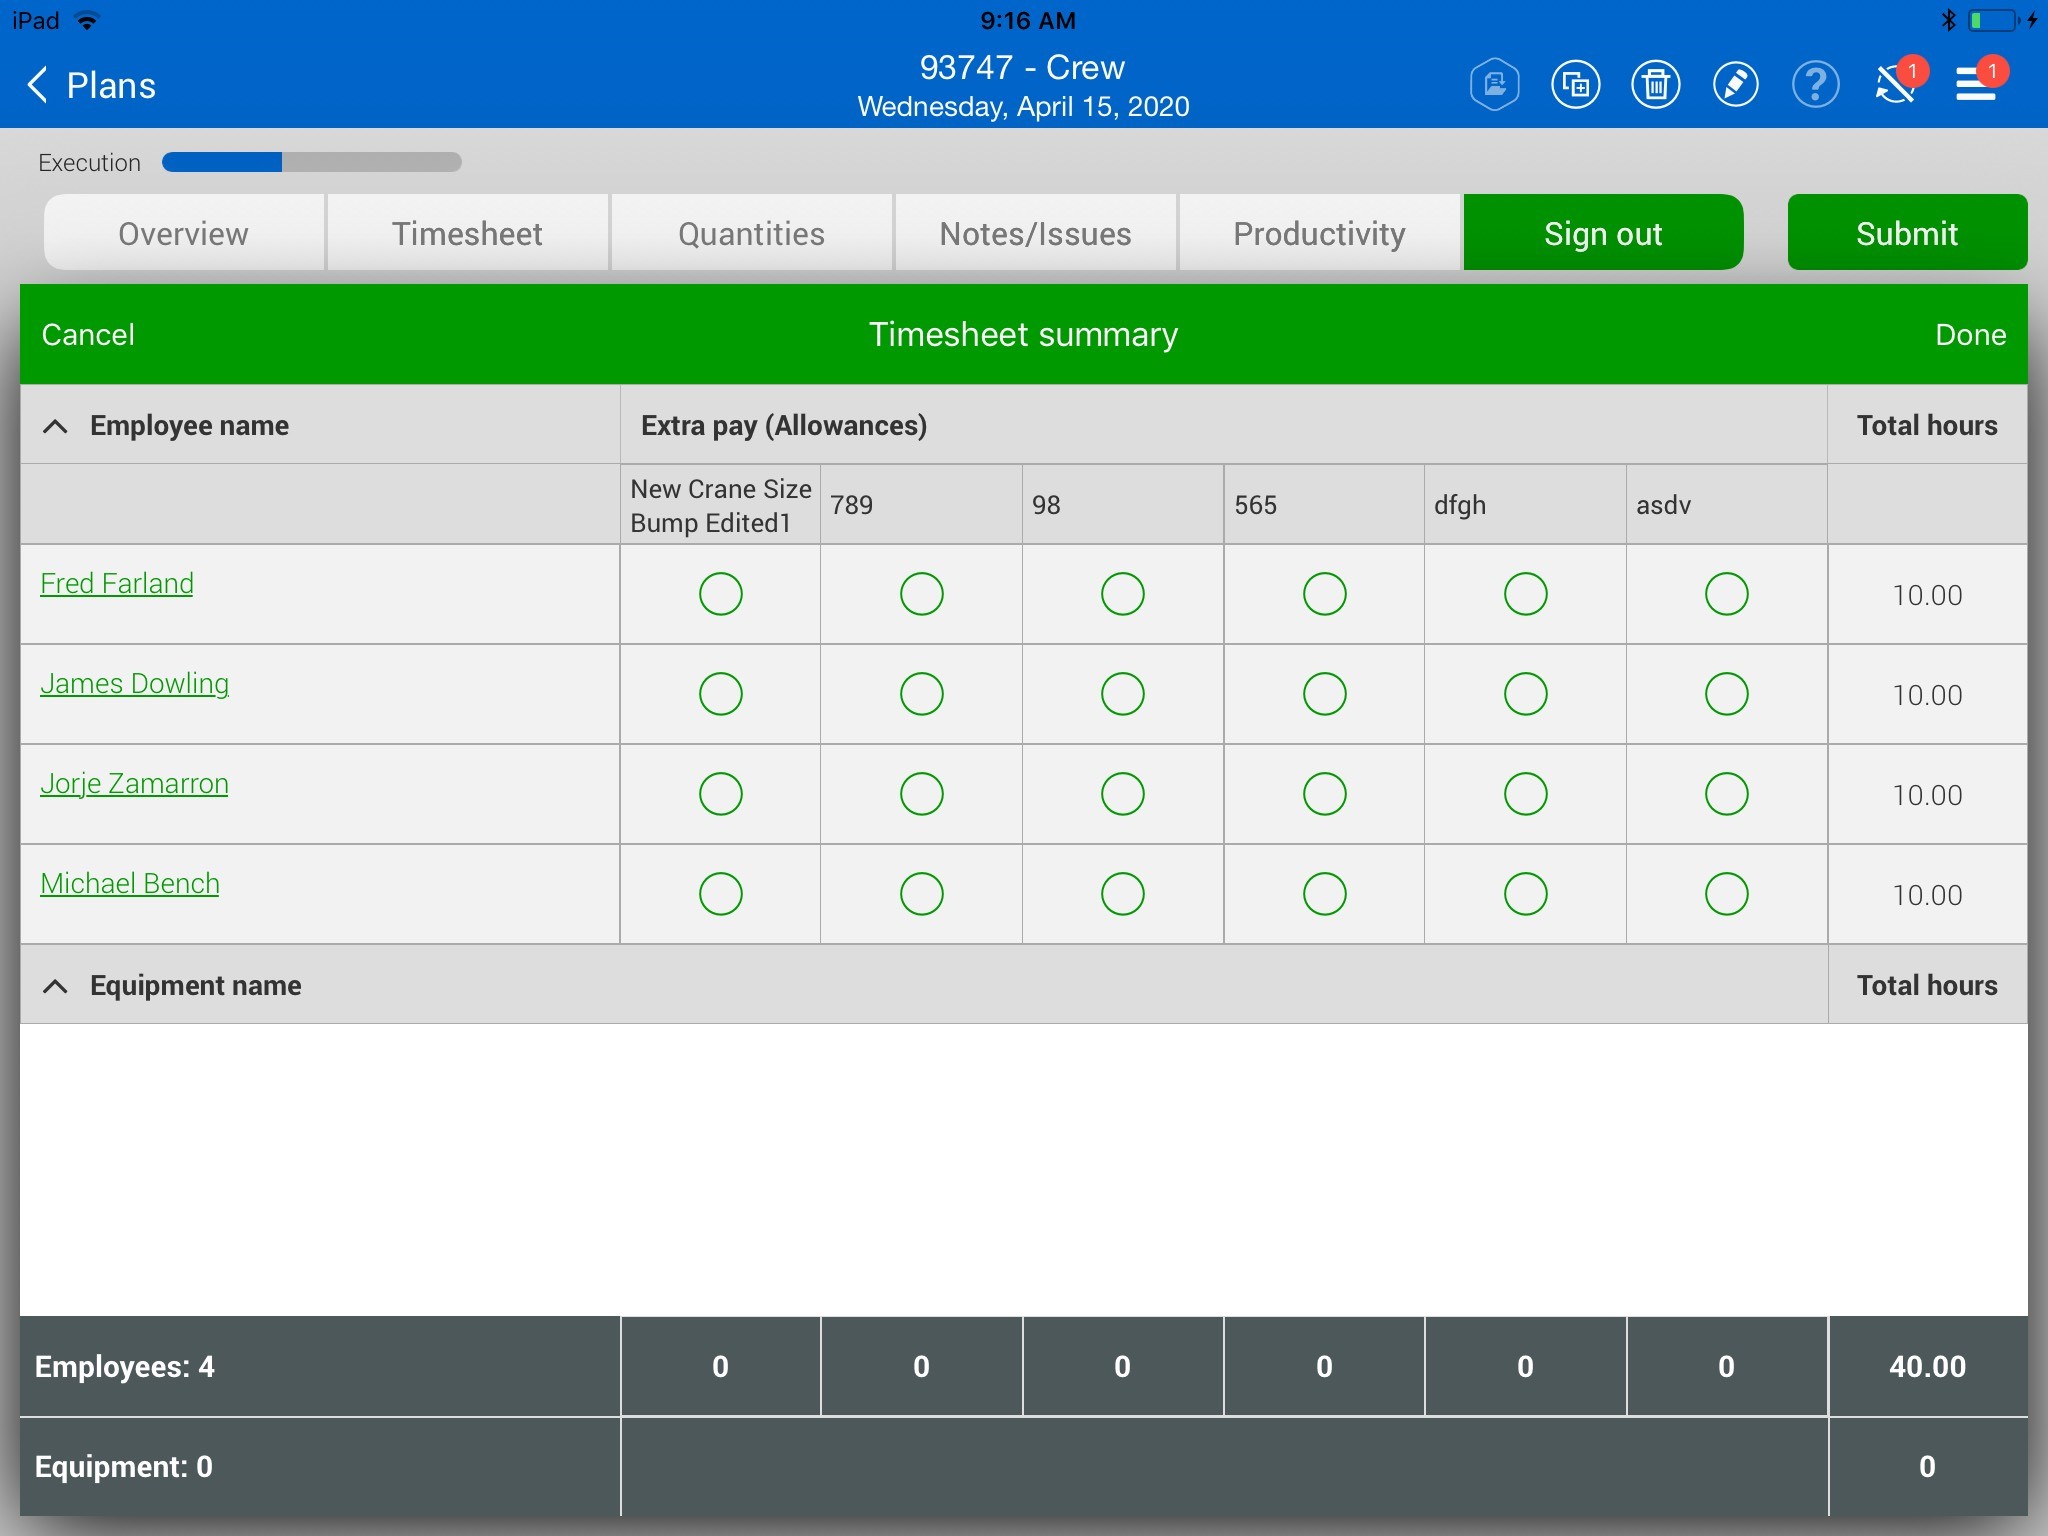
From this page, you can view, add and edit allowance allocations for each employee. As you do so, these changes will update automatically for each employee on the Timesheet and Notes/Issues tabs of the daily plan.
The following steps walk you through entering actuals into your daily plan in Progress.
Input Actuals
-
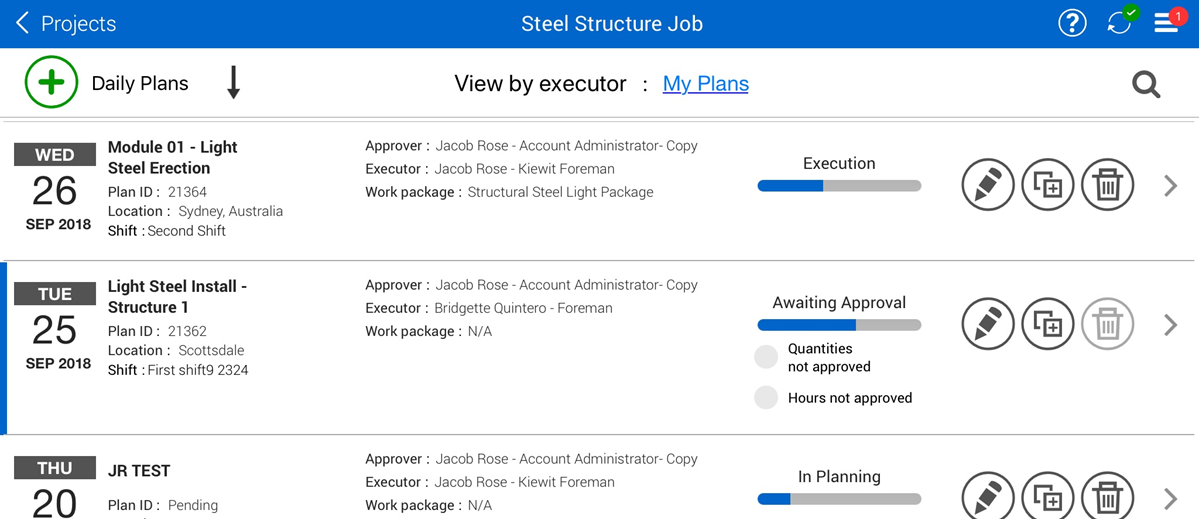
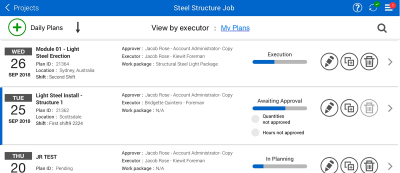
Open a daily plan from on of your projects.
-
Tap on the Timesheet tab.
-
Input hours for all your employees and equipment.
-
Tap on the Quantities tab.
-
You will see the component assigned to the task from the planning phase
-
-
Check the check boxes in the "Complete" column wherever necessary for assigned components or their broken down steps.
-
Tap the Note
icon to add a component note. - Tap in the text entry field and your device keyboard will automatically appear
-
Tap Save to return to the Quantities tab.
-
Tap on the Notes/Issues tab.
-
Tap on the Note
 icon to add a project note or concern.
-
Tap the Tag
 icon and tag your note.
 -
Select Done.
-
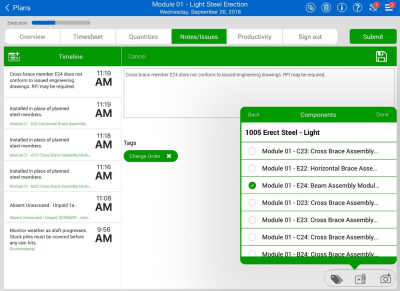
To associate the note with a component, tap the Tag
 icon, then select Components.
 -
Select a component.
-
Click Done.
-
Tap the Camera
 icon to add a photo to the note.
 -
Tap Use Camera and take a picture using the iPad camera.
-
Make markups and add text.
-
Tap Done to add the picture to the note.
-
Review the Productivity tab.
-
Check to see if you are gaining or losing man hours and what your actuals are compared to the planned and budget columns
-
-
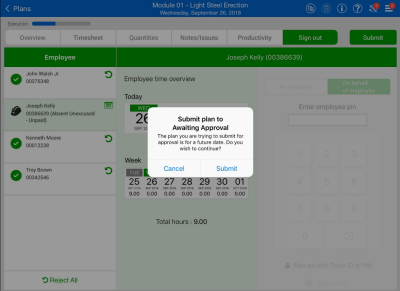
Tap on the Sign In/Sign Out tab, and then tap the Sign Out subtab.
-
Sign out each employee by selecting On Behalf of Employee.
-
Tap on Sign out with Touch ID or PIN.
-
Enter the ID number for your iPad.
-
The first name in the employee list is automatically highlighted and the list of compliance questions is shown
-
These compliance questions are usually set by management. They are set up in the project settings
-
-
Answer employee sign out questions.
-
Tap Done.
-
Repeat the sign out steps for all employees.
-
Tap Submit to submit the plan to the approval phase.
-
Progress will automatically sync when the plan is submitted. This sync must be successful for it to show up in the InEight Progress web application
-